
今回は、Thunderbird から Outlookへアドレス帳の移行方法を解説します。
概要としては、Thunderbirdのアドレス帳をCSVファイルでエクスポートし、OutlookにCSV形式でインポートします。
Thunderbirdのアドレス帳のCSVエクスポート
Thunderbirdを起動します。アドレス帳を選びます。
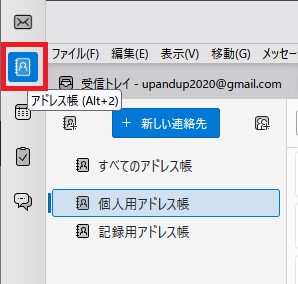
エクスポートしたいアドレス帳をクリックします。
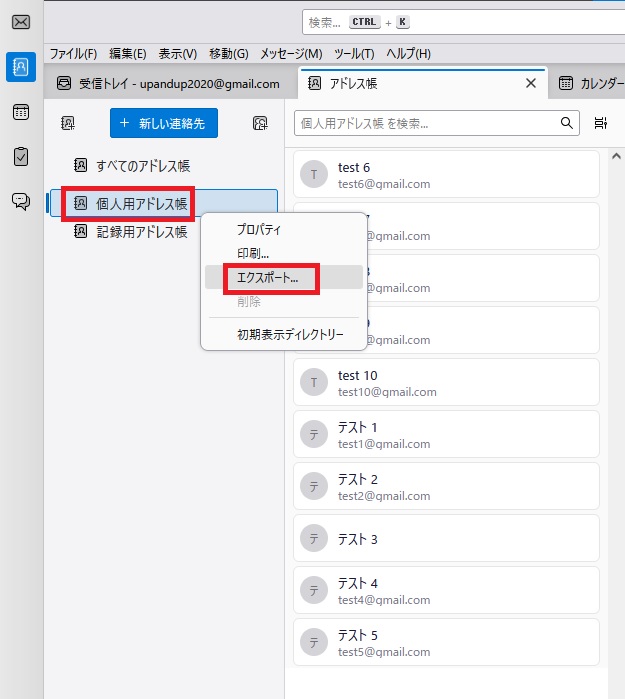
ここでは「個人用アドレス帳」を選び、右クリックし「エクスポート」を選びます。
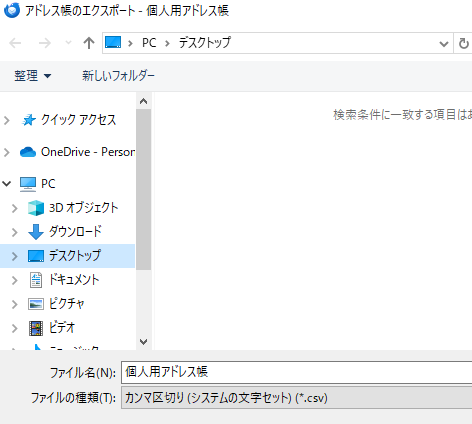
エクスポート先を選びます。
ここでは、デスクトップを指定して保存します。
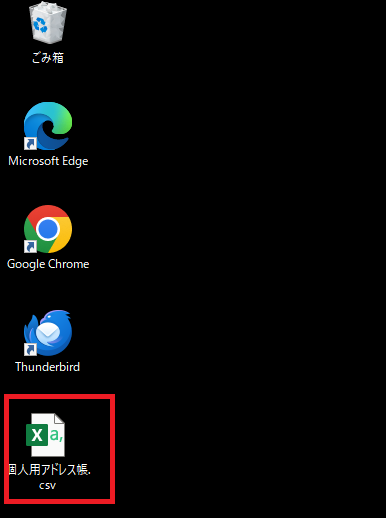
デスクトップにCSVファイルがエクスポートされます。
OutlookにCSVファイルのインポート
続いて、エクスポートした連絡帳データのCSVファイルをOutlookにインポートします。
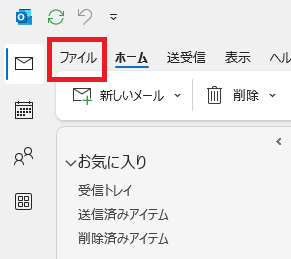
Outlookを起動します。「ファイル」をクリックします。
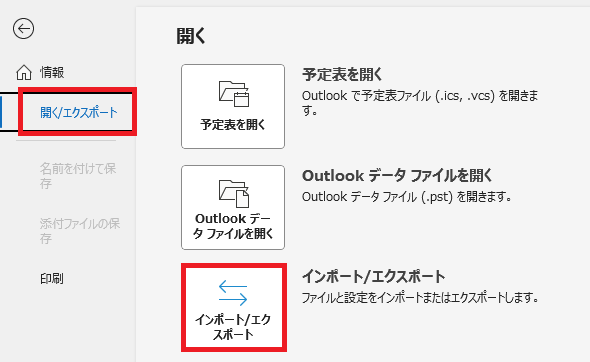
「開く/エクスポート」→「インポート/エクスポート」をクリックします。
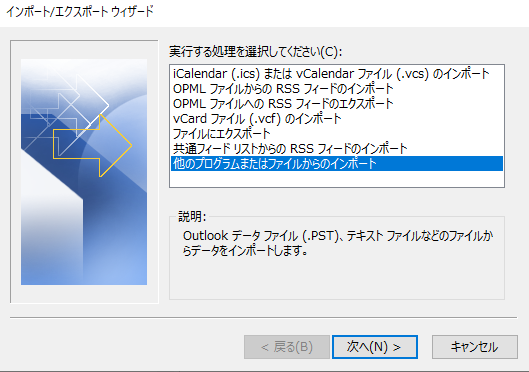
「他のプログラムまたはファイルからのインポート」を選択し、「次へ」ボタンをクリックします。
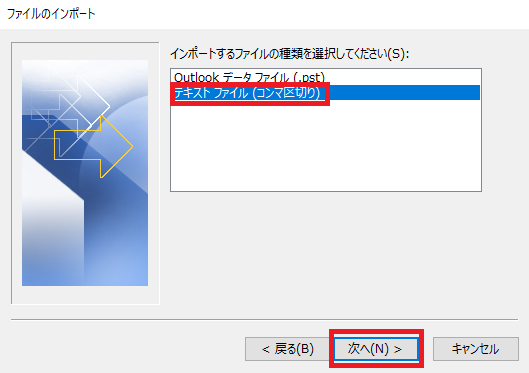
「テキストファイル(カンマ区切り)」を選択し、「次へ」ボタンをクリックします。
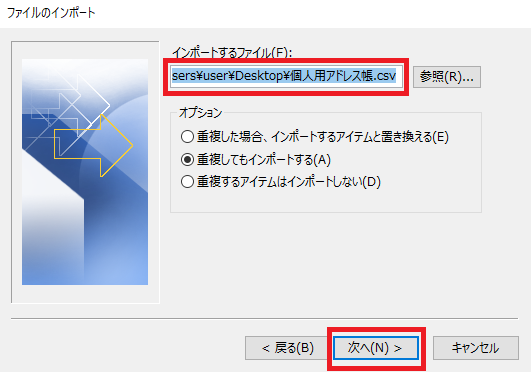
インポートするファイルにThunderbirdからエクスポートしたCSVファイルを選択し、「次へ」ボタンをクリックします。
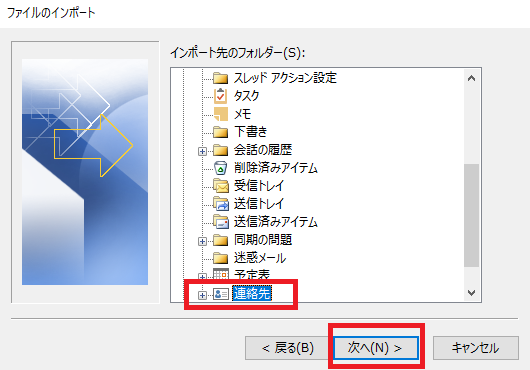
「インポート先のフォルダー」に「連絡先」を選択し、「次へ」ボタンをクリックします。
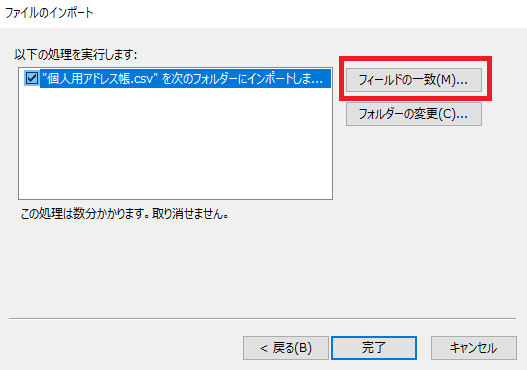
「フィールドの一致」ボタンをクリックします。
これは、Thunderbirdでエクスポートしたファイルの列をOutlookのアドレス帳のどこにインポートするか指定します。
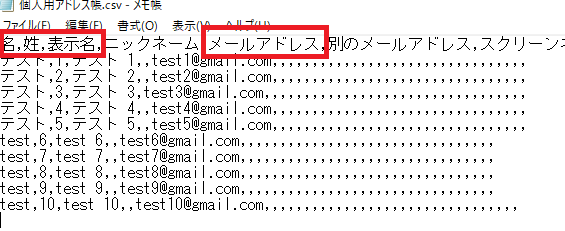
(補足)ThunderbirdからエクスポートしたCSVファイルの構造
「名」と「姓」と「表示名」と「メールアドレス」にデータが入っています。
これらのデータをOutlookの適切なフィールドにインポートするように設定します。
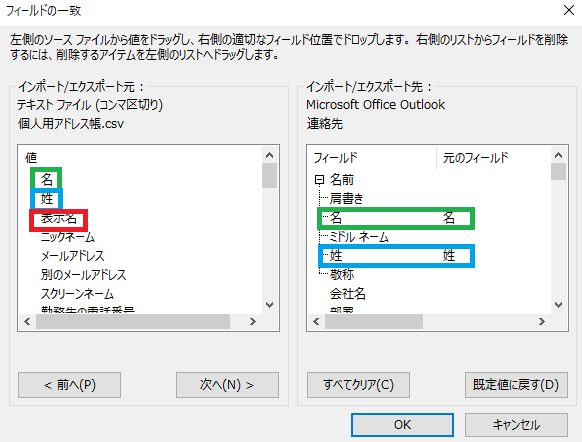
左側がThunderbirdのエクスポートファイルの列が表示されています。
右側にOutlookのアドレス帳のフィールドが表示されています。
右側の元のフィールドにThunderbirdの列が表示され、一致している場合は問題ないです。
緑と青の名と姓は自動的に認識されています。
Thunderbird側の表示名は、Outlookの「電子メール表示名」に対応させます。
右側のOutlookを下にスクロールすると、「電子メール」があるので「+」をくりっくします。

Thunderbird側の「表示名」をOutlook側の「電子メール表示名」の赤枠の空白の部分にドラッグします。
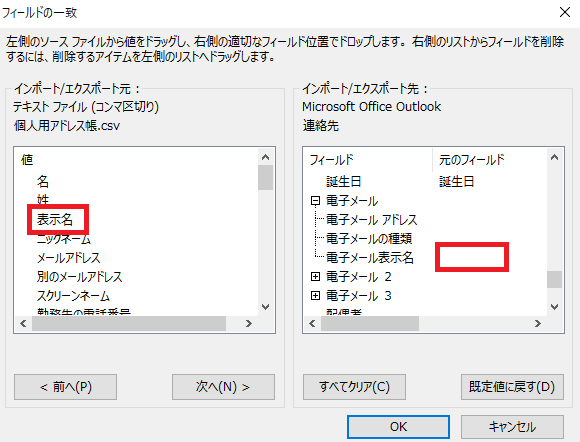
表示名をドラッグすると下記のようになります。
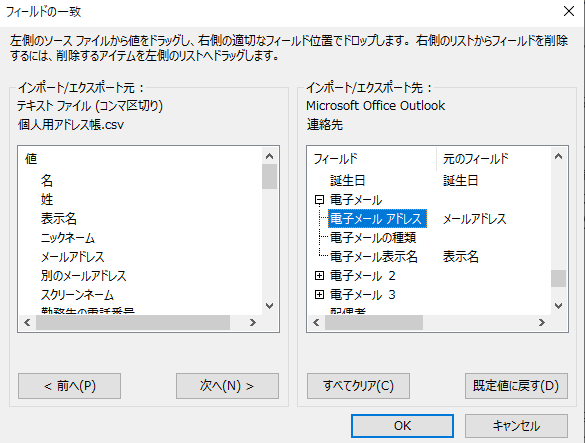
続いて、Thunderbird側の「メールアドレス」をOutlook側の「電子メールアドレス」にドラッグします。
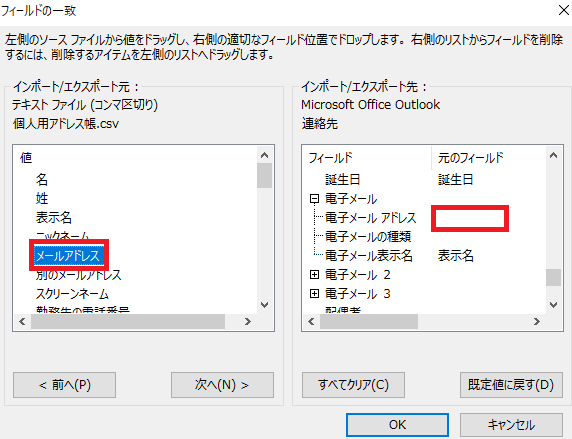
下記のようになります。
「OK」ボタンをクリックします。
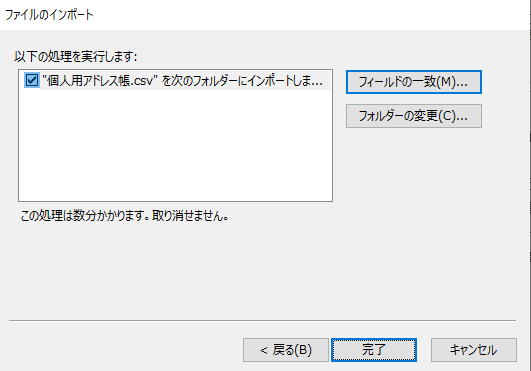
「完了」ボタンをクリックします。
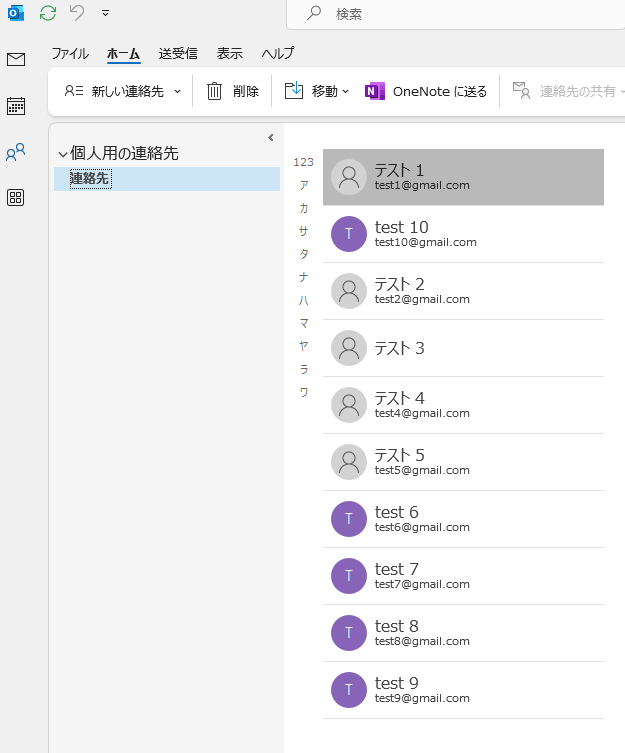
Outlookのアドレス帳を確認するとインポートされていることがわかります。
まとめ
本日は、Thunderbirdのアドレス帳をOutlookへインポートする手順について解説しました。