本日は、「スライスツール」について解説いたします。
photoshopのバージョンは、photoshop2020です。
スライスツールは、「画像を複数に分割する」際に使います。
動作イメージ
動作をイメージしやすいようにかみ砕いて説明します。
1.画像を開く
2.スライスツールを選択し、分割したい部分を選択する
3.Web用に保存で、画像を分割し、書き出す。
スライスツールを使う
画像をphotoshopで開きます。
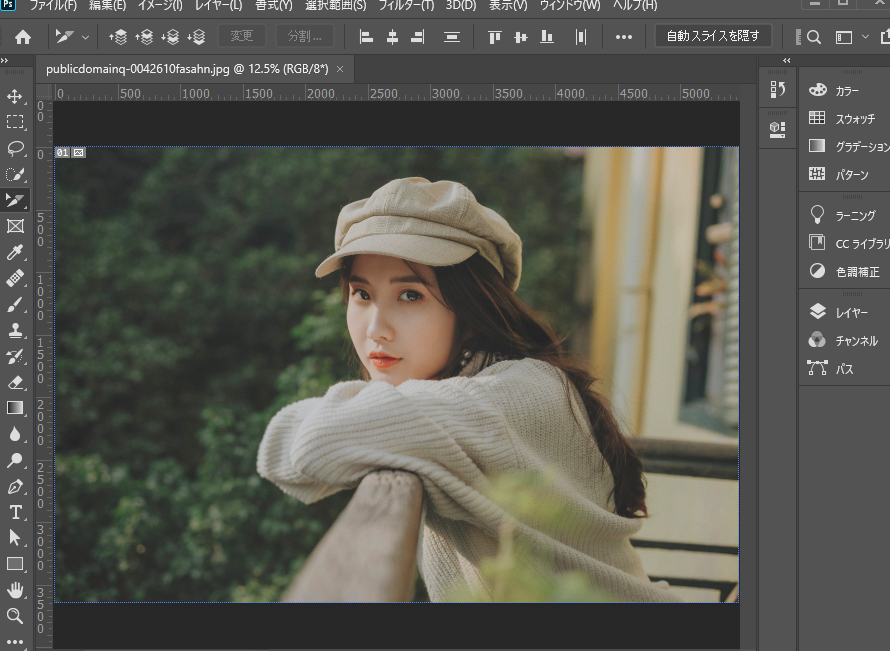
「スライスツール」を選択します。
「スライスツール」で分割したい範囲を選びます。
切り抜きたい場所(開始点)をクリックし、切り抜きたい点(終了点)まで選択します。
(左上から右下を選ぶイメージです。)
下記の黄色の線の部分を選びました。

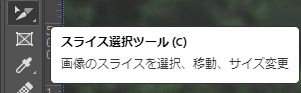
次に範囲を微調整したい場合に「スライス選択ツール」を選択します。

黄色い線の部分を伸ばしたり、縮小することで切り抜き範囲を変更できます。

また、「スライス選択ツール」では、分割し画像を書き出す際のファイル名を変更することもできます。
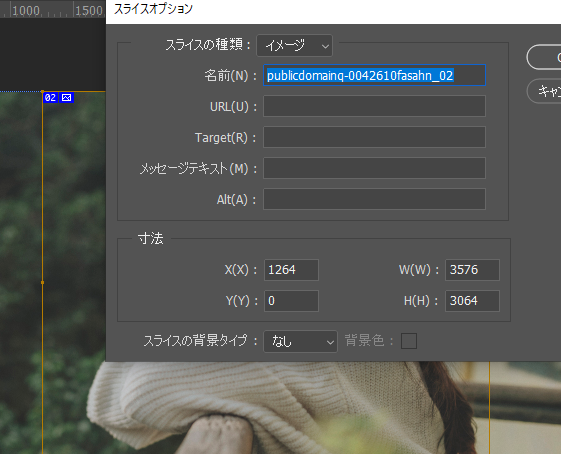
上記画像の青い部分(02~)をクリックするとウィンドウが表示されます。
任意の名前に変更できます。
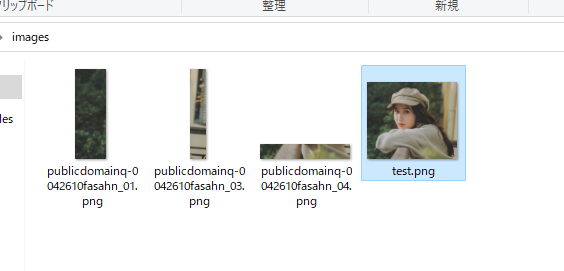
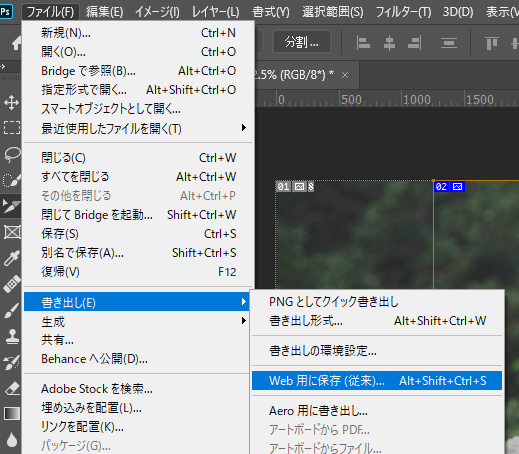
最後に分割画像の書き出しです。
「ファイル」 → 「書き出し」 → 「Web用に保存」をクリックします。
下記ウィンドウが表示されます。そのままOKボタンをクリックします。
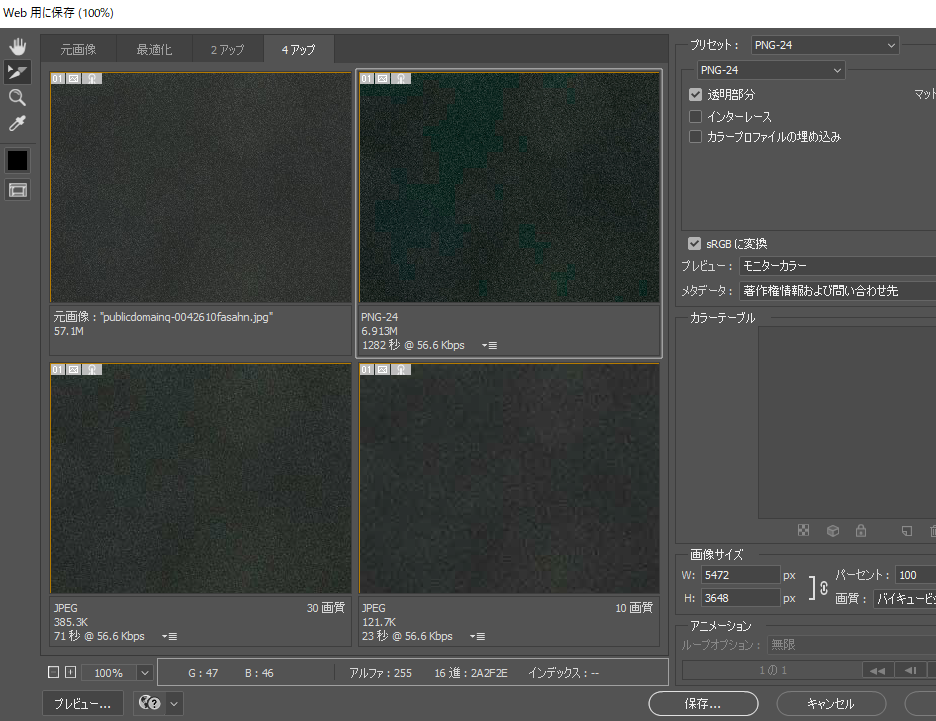
画像が分割されます。