
本日は、メールのデータを別のパソコンに移す方法として、
フリーソフトの「MailStore Home」をご紹介します。
今回の例として、「Windows Live Mail」から「thunderbird」へデータを移行します。
流れとしては、以下になります。
1.Windows Live MailのデータをMailStoreHomeにインポート
2.MailStoreHomeからthunderbirdにデータをエクスポート
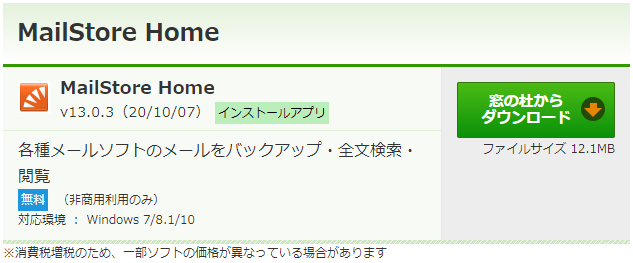
MailStore Homeのインストール
インストールファイルは、窓の杜からダウンロードできます。
https://forest.watch.impress.co.jp/library/software/mailstore/
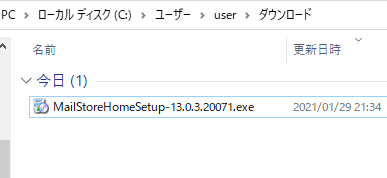
ダウンロードファイルを開きます。
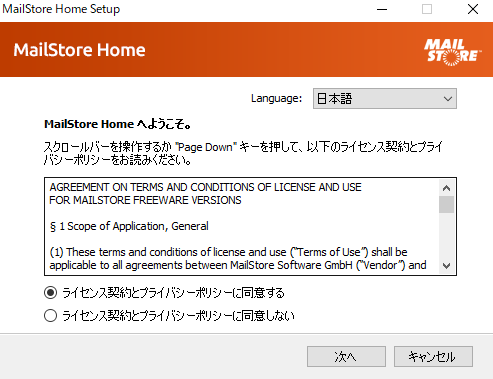
インストールが始まります。
「ライセンス契約とプライバシーポリシーに同意する」にチェックし、
「次へ」ボタンをクリックします。
今回は、「ポータブル版を他のディレクトリにインストール」を選択します。
次に「インストール」ボタンをクリックします。

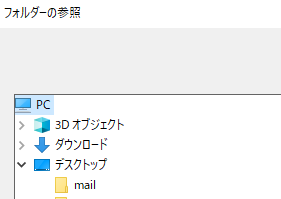
インストール先のフォルダを選びます。
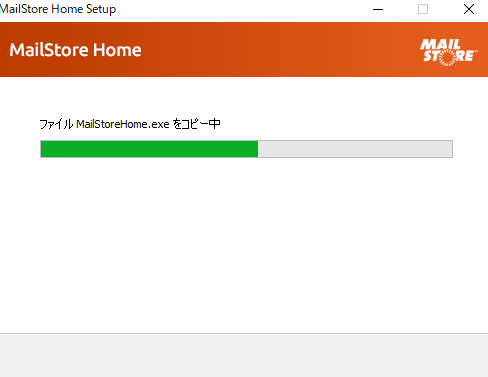
処理が進みます。
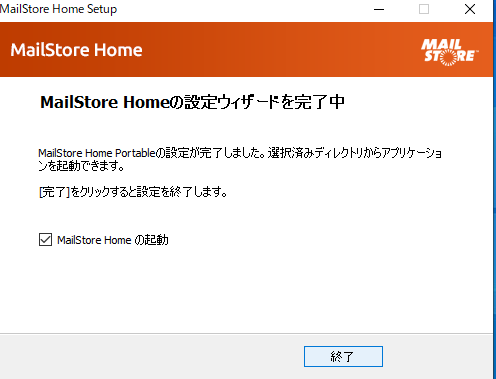
インストールが完了します。
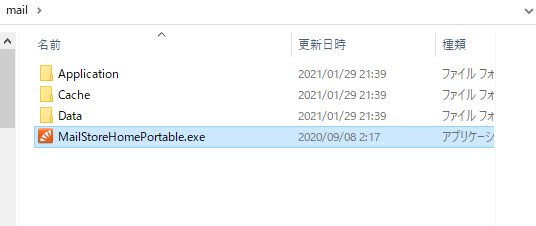
MailStoreHomeを起動します。
インストールしたフォルダ内「MailStoreHomePortable.exe」を起動します。
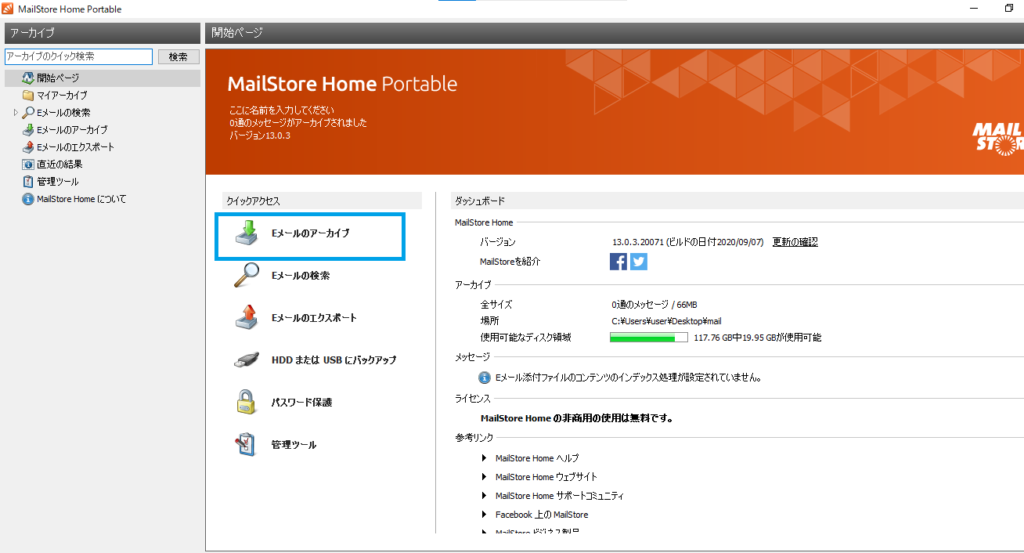
「MailStore Home」が起動します。
MailStore HomeにWindows Live Mailデータをインポート
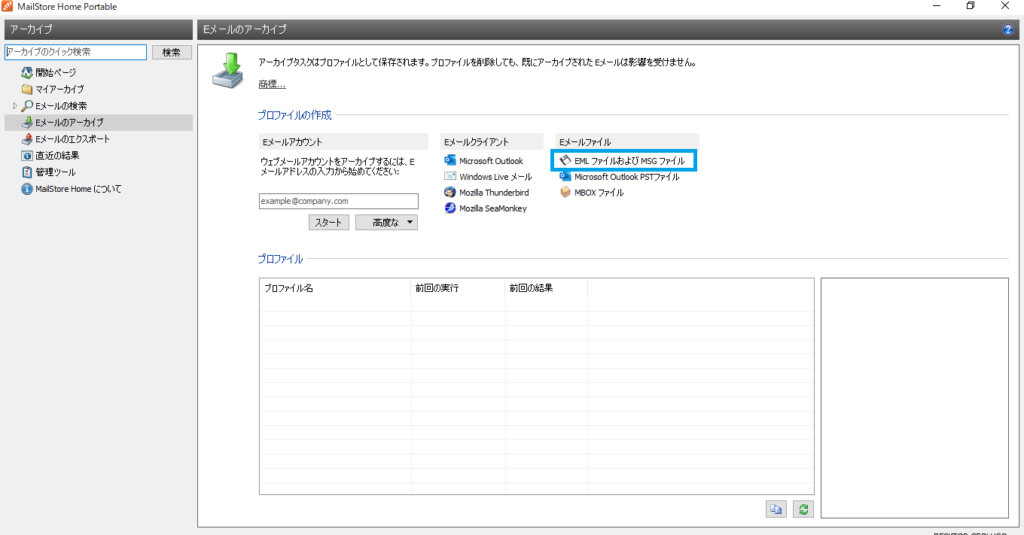
「MailStore Home」にWindows Live Mailデータをインポートします。
「Eメールのアーカイブ」をクリックします。

「EMLファイルおよびMSGファイル」をクリックします。
下記ウィンドウが表示されます。
「参照」ボタンをクリックします。
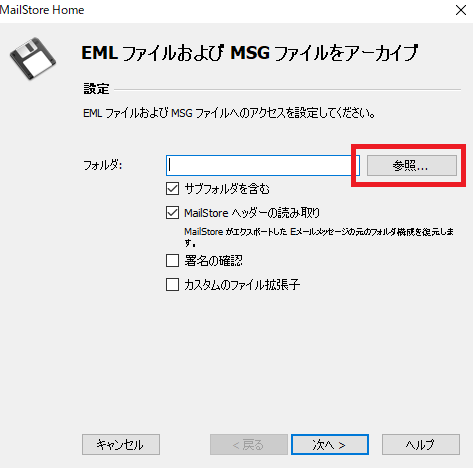
Windows Live Mailのデータは、下記フォルダになります。
「C:\Users\user\AppData\Local\Microsoft\Windows Live Mail」フォルダを選択し、
「次へ」ボタンをクリックします。
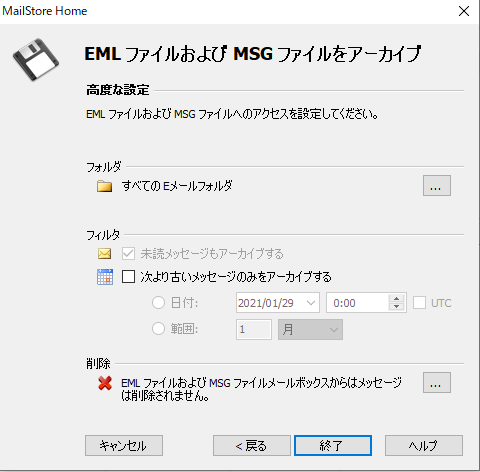
下記画面が出力されます。終了ボタンをクリックします。設定は完了です。
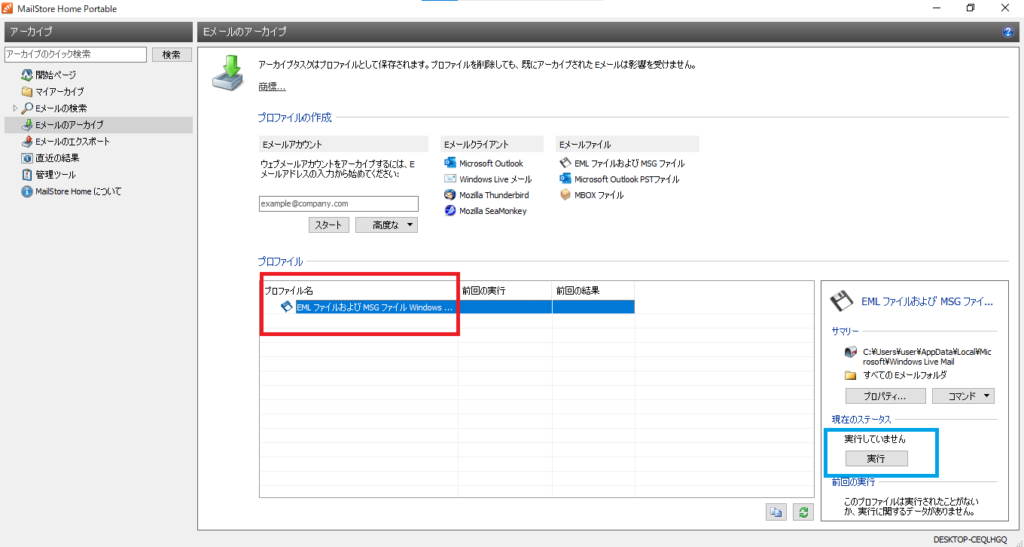
赤枠部分にプロファイルが作成されています。
青枠部分の実行ボタンをクリックすると、「Windows Live mail」のデータのインポートが始まります。
下記は、実行ボタンを押し、MailStore Homeに取り込み処理が完了した画面です。
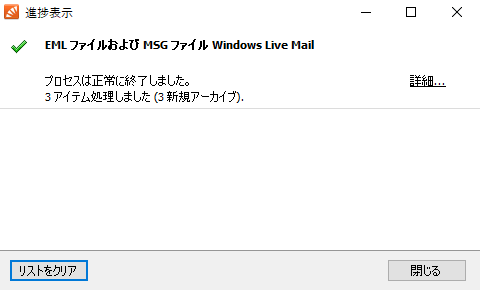
赤枠部分のマイアーカイブをクリックすると、取り込んだメールの階層が表示されます。
青枠部分は、メールの内容を確認できます。
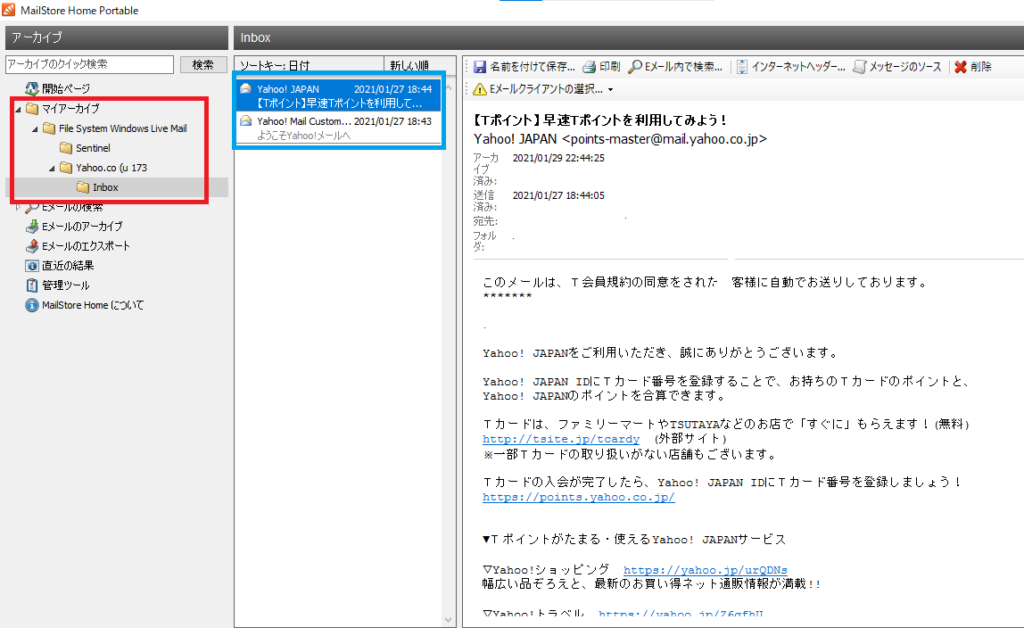
以上で取り込み処理は完了です。
MailStoreHomeからthunderbirdにデータをエクスポート
続いて、MailStoreHomeからThunderbirdへデータをエクスポートします。
手順は、とても簡単です。
エクスポートしたいフォルダを右クリックして、「エクスポート先」→「Thunderbird」と選ぶと
エクスポート処理が実行されます。

まとめ
以上、MailStoreHomeを使ったメールデータの移行方法でした。