
本日は、Windows10からWindows11へリモートデスクトップで接続する方法を紹介します。
Windows11でのリモートデスクトップ接続の設定
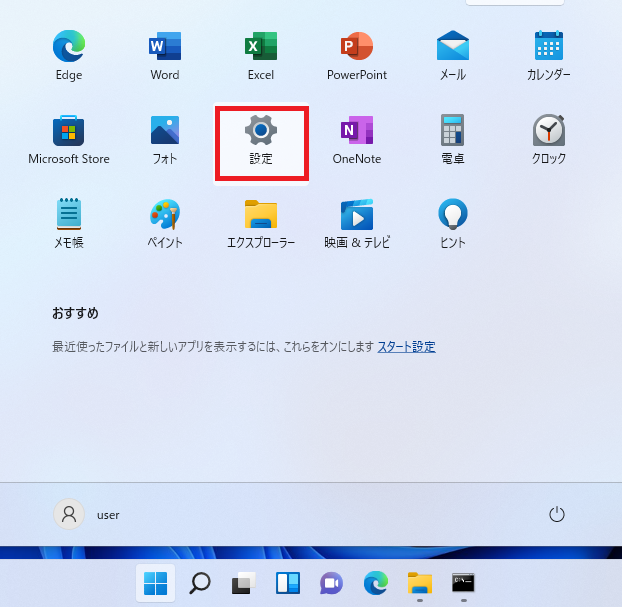
スタートボタンをクリックし、設定をクリックします。
設定の画面から、「システム」をクリック、右側画面から「リモートデスクトップ」を選びます。
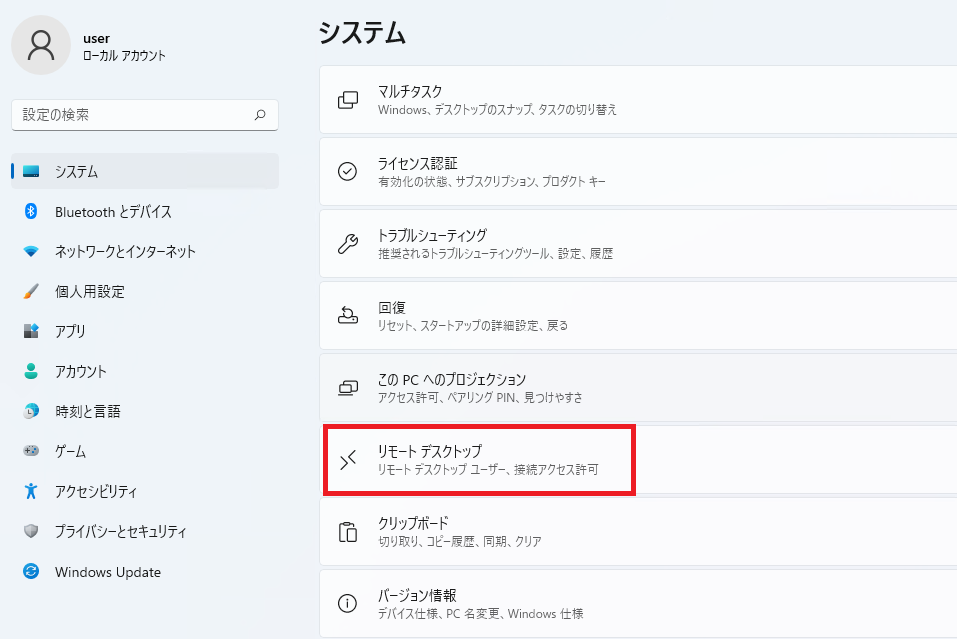
リモートデスクトップを「ON」にします。

続いて、Windows11のIPアドレスをコマンドプロンプトから確認しましょう。
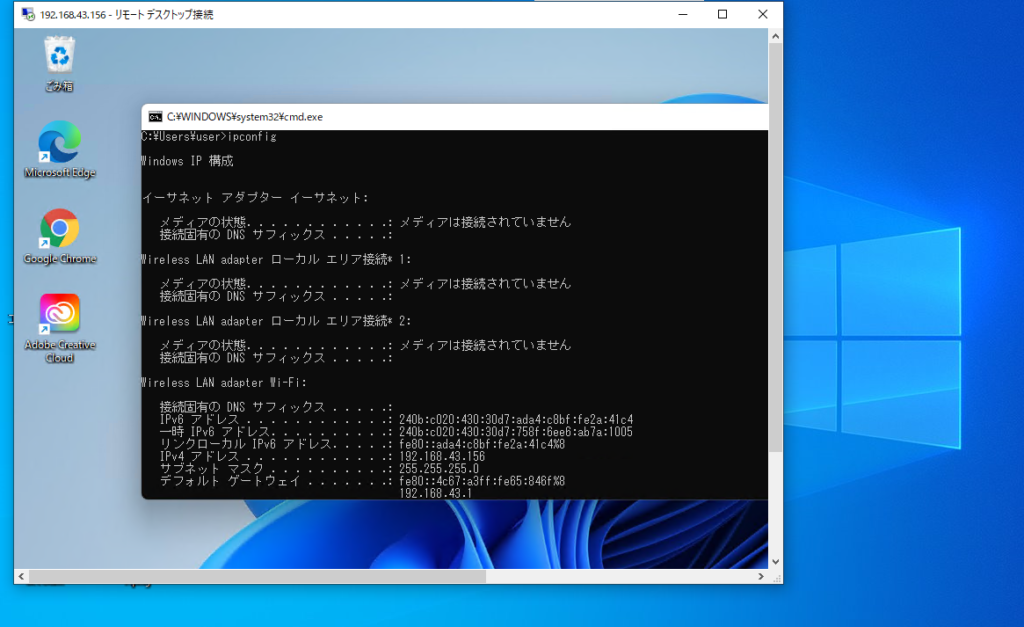
コマンドプロンプトを起動し「ipconfig」と入力し、確認します。
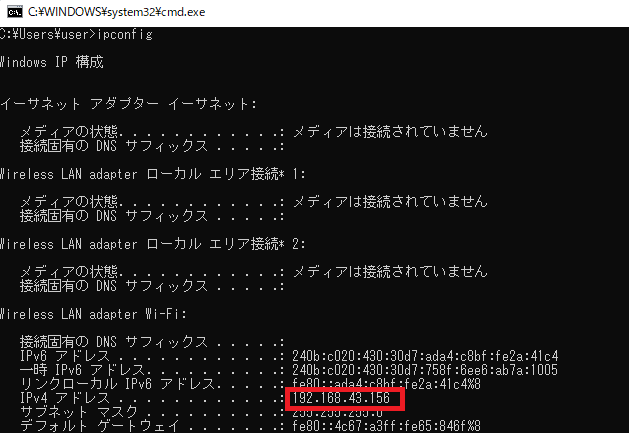
ここでは、Windows11のIPアドレスが「192.168.43.156」ということがわかります。
Windows10からリモートデスクトップ接続
Windows10からリモートデスクトップ接続を行います。
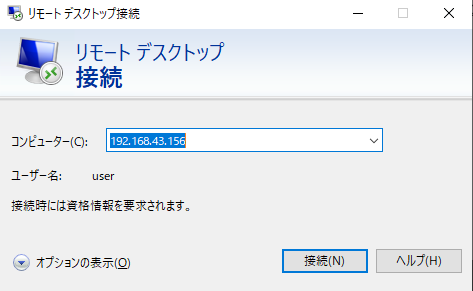
リモートデスクトップを起動します。
入力欄のコンピュータのところに、先程のWindows11のIPアドレスを入力し、「接続」ボタンをクリックします。
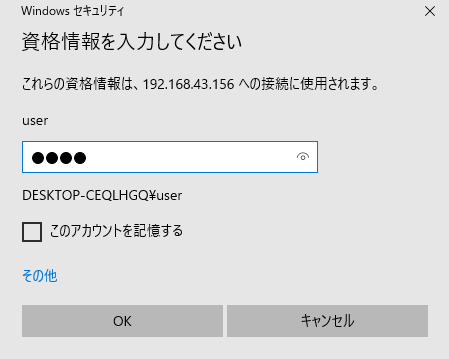
出力された画面に「ユーザ名」と「パスワード」を入力し、OKボタンをクリックします。
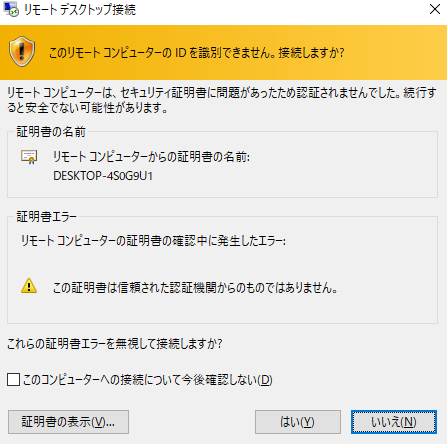
「このリモートコンピュータのIDを識別できません。接続しますか?」という画面が出た場合は、「はい」をクリックします。
Windows11にリモートデスクトップ接続できました。
まとめ
本日は、Windows11へリモートデスクトップする方法についての解説でした。