
本日は、Python開発環境を手軽に構築できる方法を説明します。
パソコンでpythonをプログラム開発を行う場合、
「Jupyter Notebook」と「Anaconda」等のソフトウェアを
インストールする必要がありますが、本日紹介する「Google Colaboratory」を
使えばGoogleアカウントとネット接続ができればすぐにPythonの開発環境を構築できます。
Pythonを触ってみたいあなたにこの記事を読んでいただければと思います。
Googleアカウントの準備
まずは、Googleアカウントを準備しましょう。
Googleアカウントの作成は下記の記事を参照ください。

Google Colaboratoryのインストール
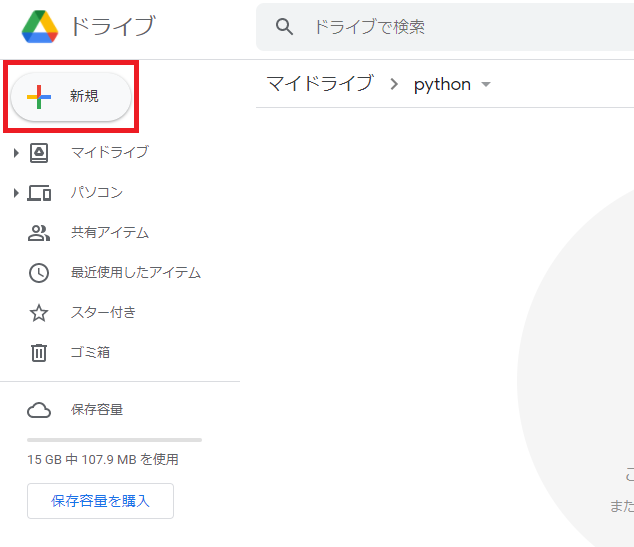
Googleアカウント取得後、「Googleドライブ」にアクセスします。
Googleドライブにアクセス後、「新規」をクリックします。
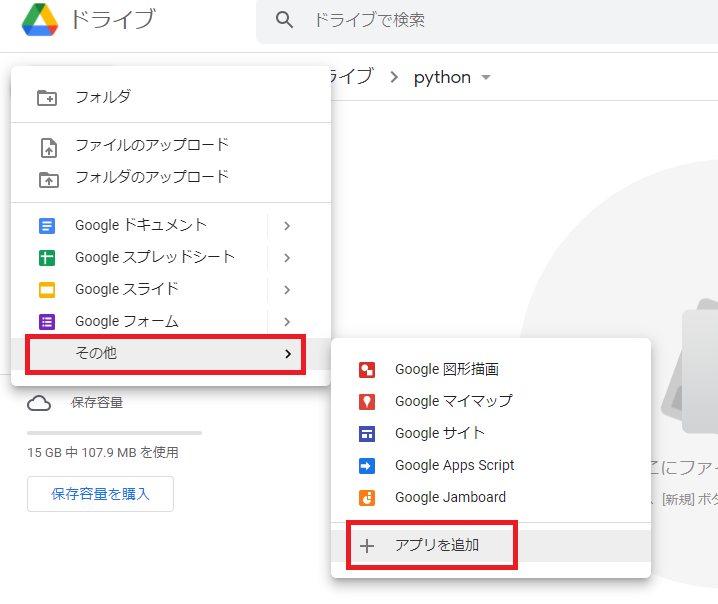
続いて、「その他」をクリックし、「+アプリを追加」をクリックします。
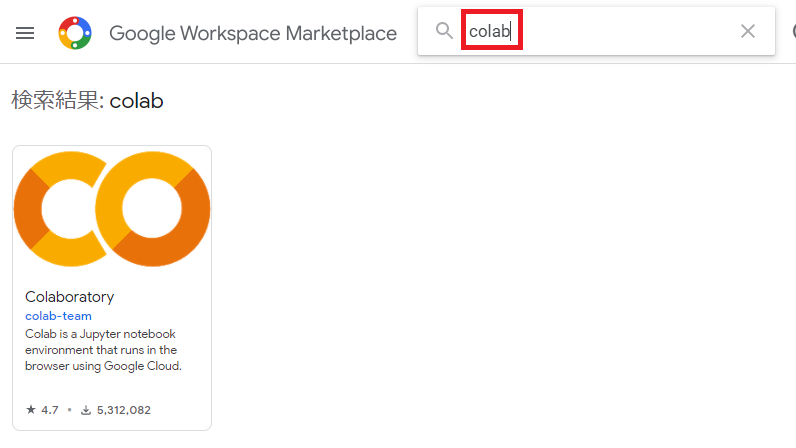
検索欄に「colab」と入力します。
「Colaboratory」が表示されるはずです。
「Colaboratory」が表示されたら、「Colaboratory」をクリックしましょう。
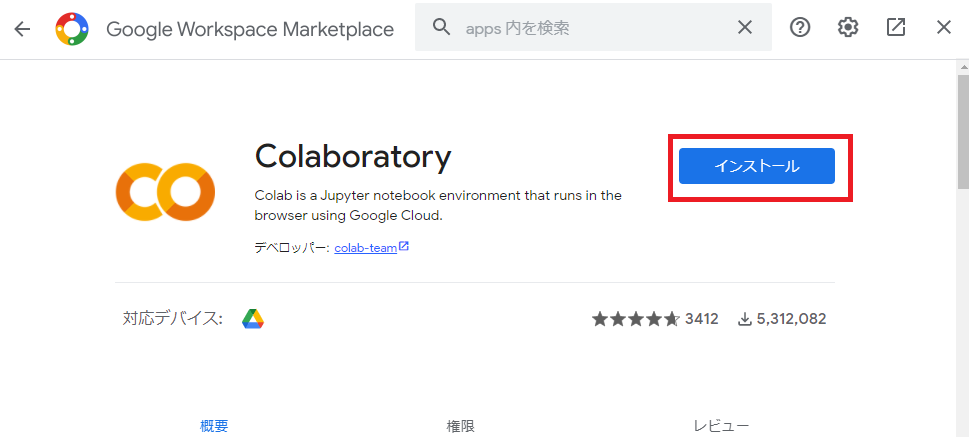
画面が切り替わります。
「インストール」ボタンをクリックします。
少し待っていると、「Colaboratory」のインストールが完了します。
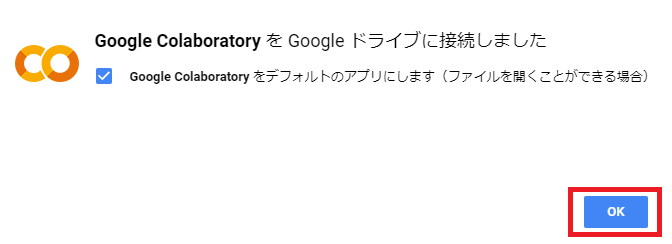
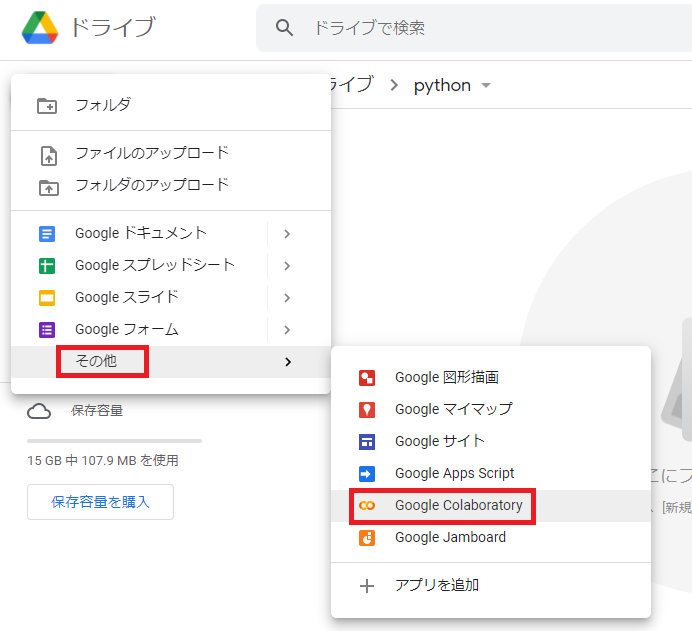
インストールが完了したら、再度Googleドライブの「新規」から「その他」をクリックします。
インストールした「Google Colaboratory」が表示されるので、クリックします。
「Colaboratory」のファイルが開きます。これで完成です!

「Colaboratory」でPythonコード実行
環境ができたので、さっそく試してみましょう。
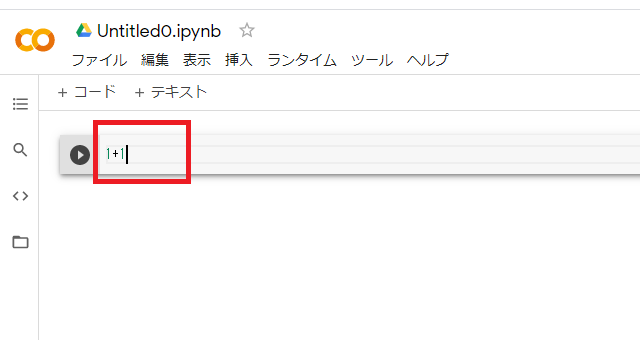
入力欄に 1+1と入力し、実行ボタンをクリックします。
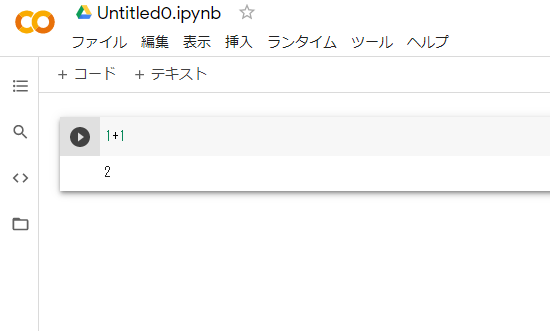
見事1+1が計算され、2が表示されました!
まとめ
本日は、Pythonの実行環境である「Google Colaboratory」の紹介を行いました!