
本日は、ActiveDirectoryのインストール方法について説明致します。
触ったことはあるけど、インストールすることはあまりないという方向けにお伝えし、流れをつかんでいただければと思います。
インストール自体は、サーバーマネージャのウィザードに従い進めるだけで簡単です。
・Active Directory導入のポイント
Active Directory ドメインサービスを導入するには、「DNSサーバーの役割」を持つ必要があります。DNSをインストールしていない場合は、Active Directoryのインストールの中で自動的にインストールされます。
Active Directoryドメインサービスには、「ドメインコントローラの役割」が必要です。ドメインコントローラの設定も行います。
Active Directoryドメインサービスのインストール
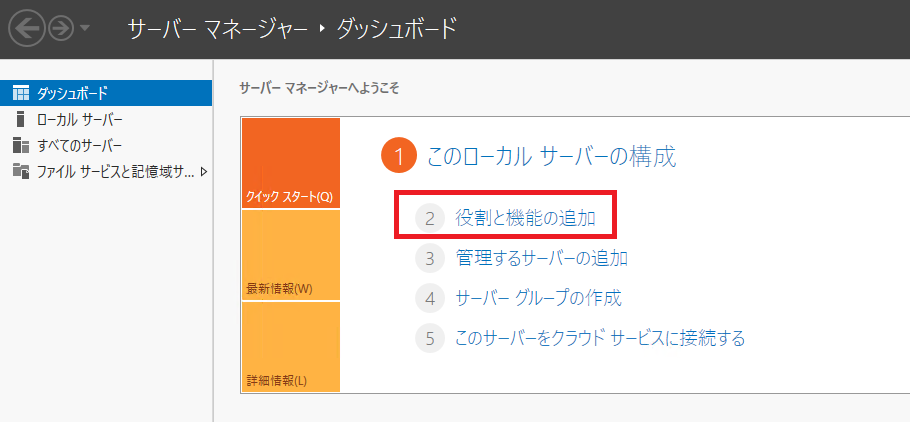
サーバーマネージャを起動し、管理メニューから「役割と機能の追加」をクリックします。
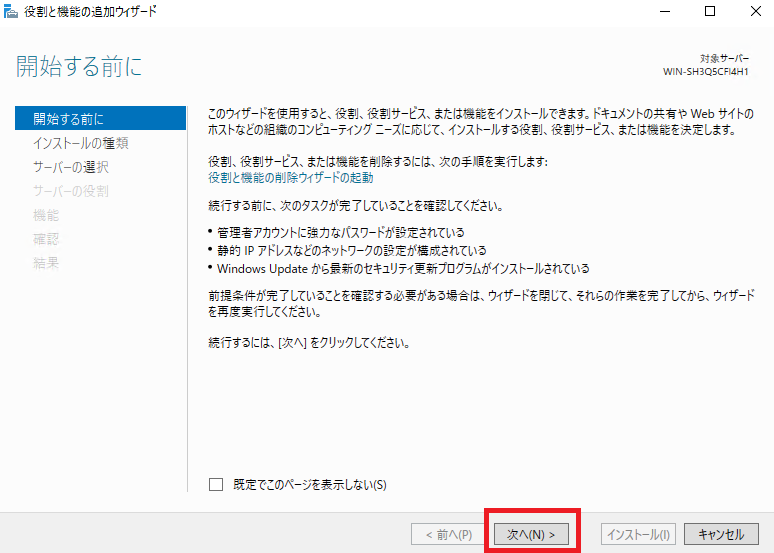
ウィザードが開始されます。「次へ」ボタンをクリックします。
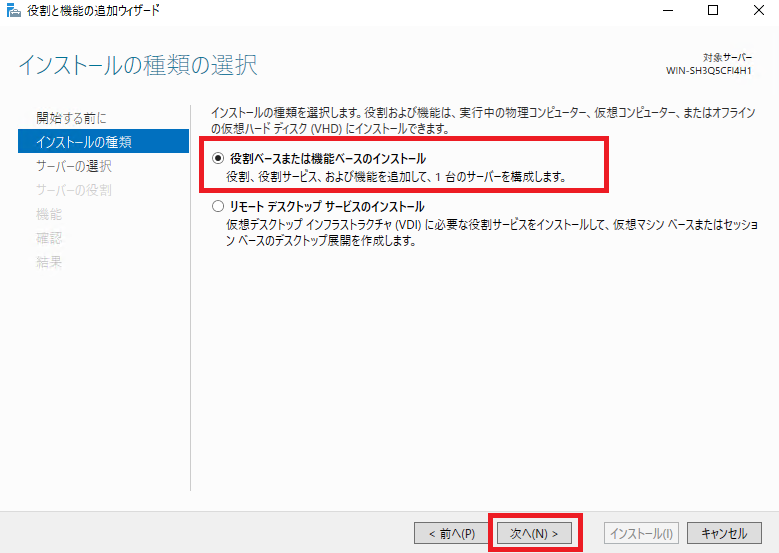
「役割ベースまたは機能ベースのインストール」をチェックし、「次へ」ボタンをクリックします。
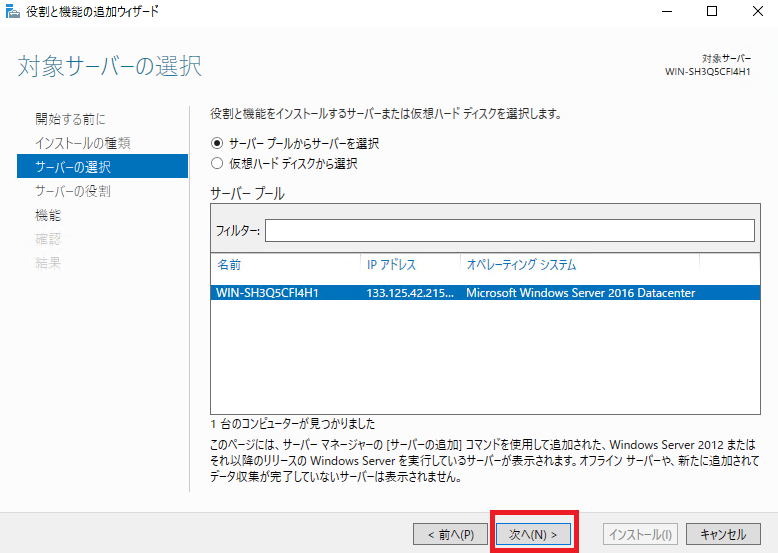
サーバーが選択されていることを確認し、「次へ」をクリックします。
「Active Directory ドメイン サービス」をクリックします。

下記のウィザードが表示されるので、「機能の追加」をクリックします。

画面が戻ります。「次へ」ボタンをクリックします。
機能の追加がある場合は、チェックします。
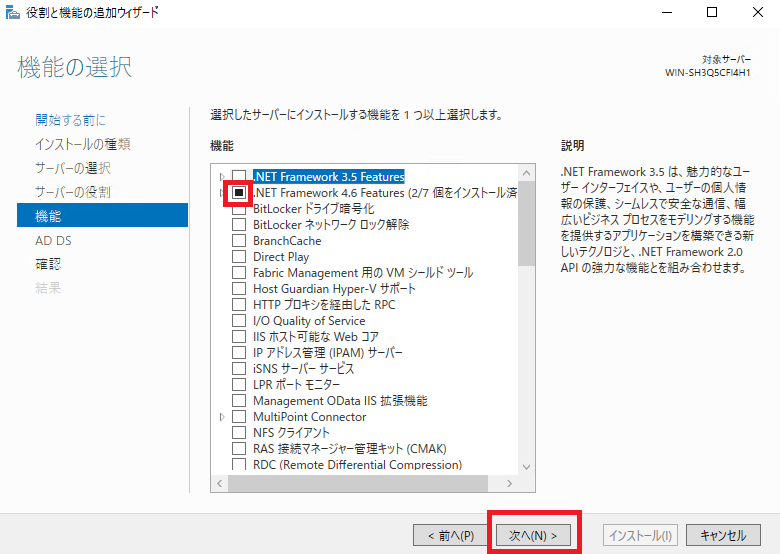
「次へ」ボタンをクリックします。
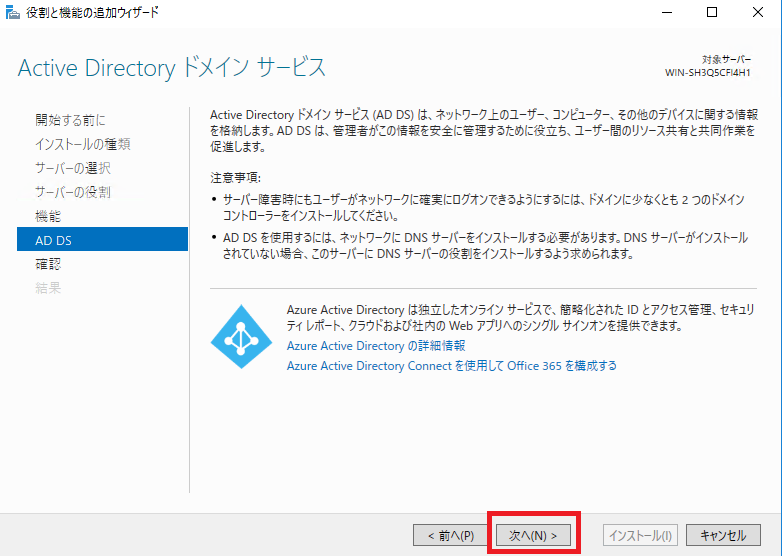
下記は、注意事項が書かれています。
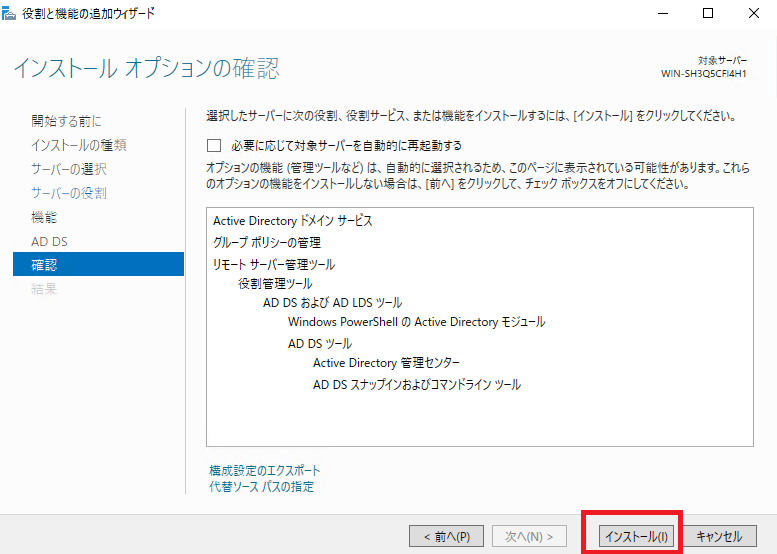
最後にインストールする内容が表示されます。「インストール」をクリックしましょう。
インストールがはじまります。インストールが完了するまで待ちましょう。

ドメインコントローラの追加設定
では、次にドメインコントローラの設定です。
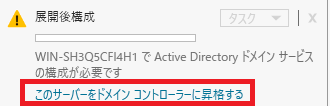
サーバーマネージャーを起動し、ダッシュボードの通知(下記画像の右上黄色の枠)にメッセージがあります。クリックします。
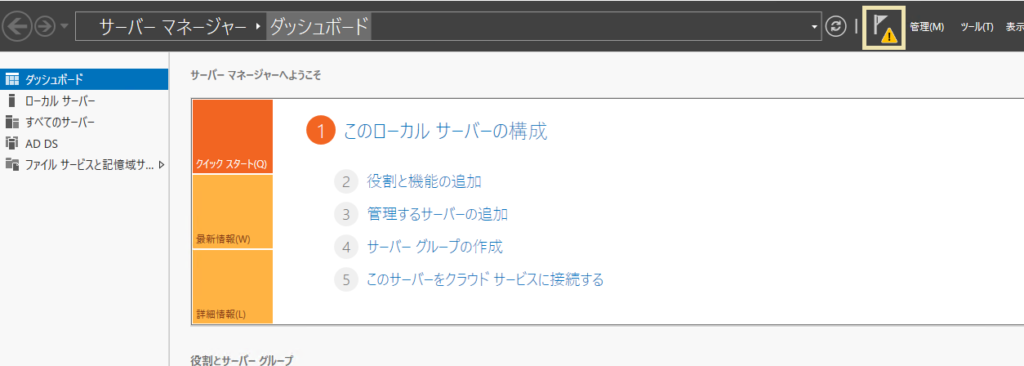
クリックすると、「このサーバーをドメインコントローラに昇格する」というリンクがあります。リンクをクリックします。
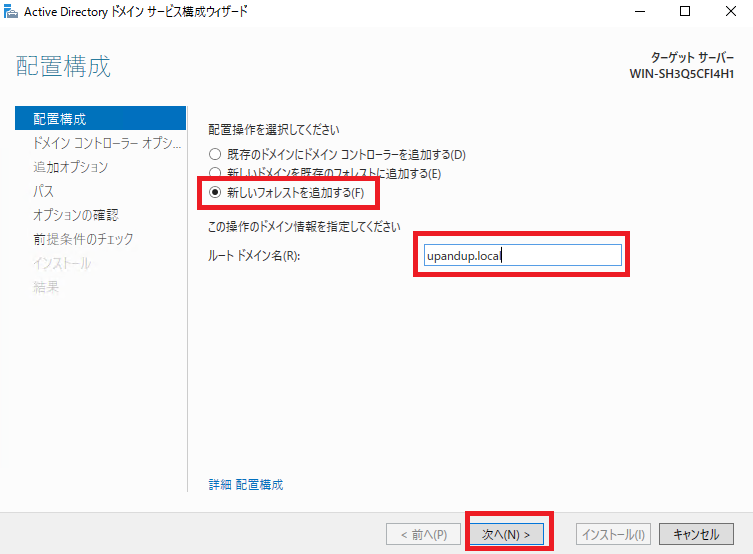
「Active Directory ドメインサービス構成」ウィザードが起動します。
今回は、Active Directoryの新規導入のため、「新しフォレストを追加する」にチェックし、ルートドメイン名を入力します。
「upandup.local」としました。
「次へ」ボタンをクリックします。
次に「ドメインコントローラ」用のパスワードを入力し、「次へ」ボタンをくりっくします。

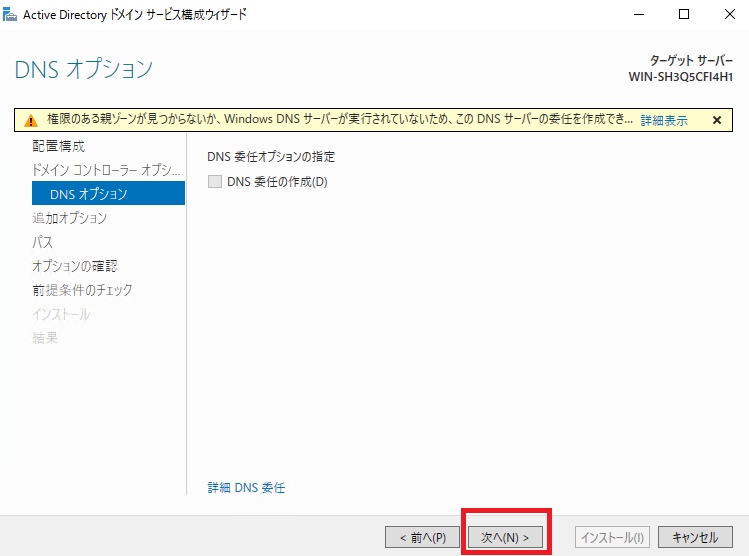
DNSオプションが表示されますが、ここではチェックせず、「次へ」ボタンをクリックします。
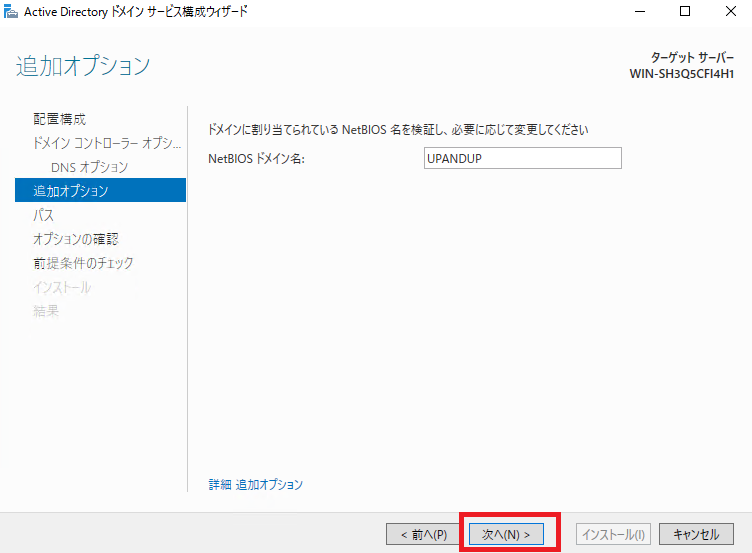
追加オプションでは、NetBIOSドメイン名の設定を行います。
最初に入力したルートドメイン名が通常は自動で設定されます。
「次へ」をクリックします。
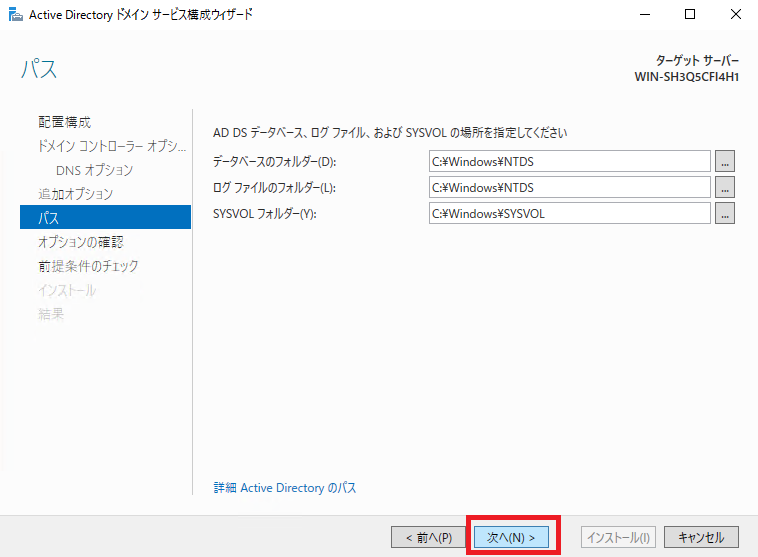
パスのページです。ログの保存場所になります。
「次へ」をクリックします。
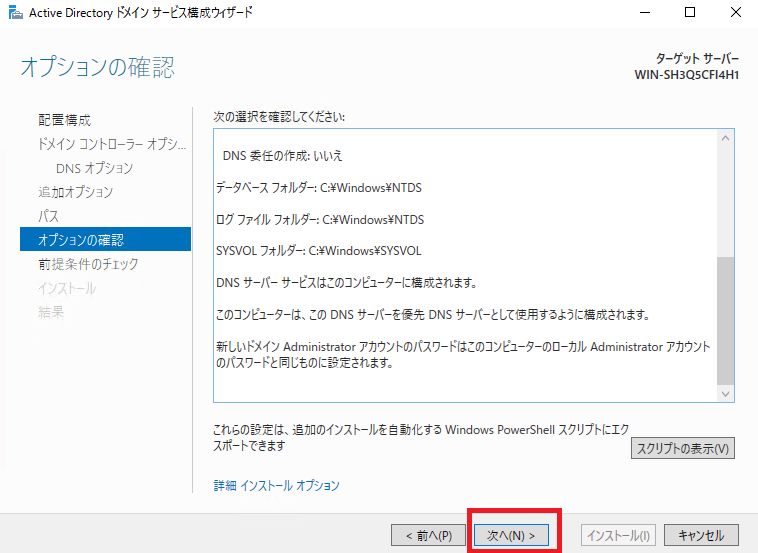
最後に確認のページです。「次へ」をクリックします。
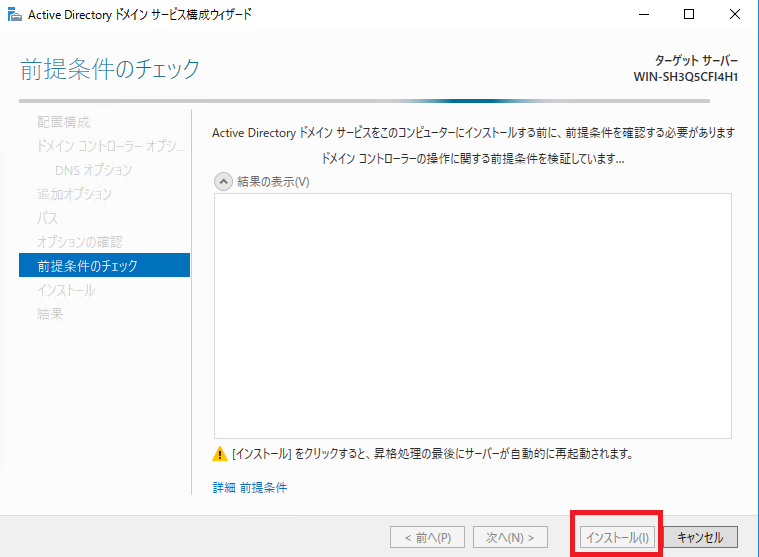
前提条件のチェックです。
注意メッセージはありますが、インストールをおこないます。
インストールが完了すると、Windows Server が自動的に再起動されます。
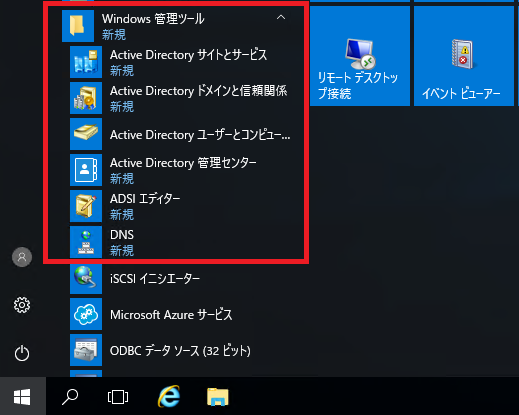
再起動後、インストールされたか確認します。
まとめ
Active Directoryのインストールについて紹介させていただきました。
ポイントの整理です。
1.サーバーマネージャーからインストールを行う。
2.DNSサービスが必要
3.ドメインコントローラが必要